How to Make Soy Votive Candles
You will need: Soy Votive Wax like our M-100 ULTIMATE SOY MELT & TART WAX (if Votive Wax isn't available use our Millennium Soy Wax), Candle Dye if you want color, Fragrance Oil
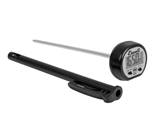
for scent, Wicks, clean dry Votive Molds, Wick Pins and a Pour Pot or Glass Votive Containers, a Kitchen Scale (we like the electronic ones) to weigh the wax and fragrance oils, a Thermometer, and wax paper, Kraft paper or old towels or newspaper to put down on your counters (it can get a little messy).
Click here for Starter Kit information
Please remember…all candle making ingredients are measured by weight… not volume. That means it's ounces on a scale, not in a measuring cup or tablespoon. Votive wax is designed to be poured hotter (than container wax) and shrink as it cools so you can "pop" it out of the mold easier. Our Millennium is a container wax that you pour cooler and so you may need to put your cooled votives in the fridge to get the container wax to cool and shrink enough to get it out of the mold. Always burn a votive candle inside a container. As with most krafts, there is more than one way to go about it; If you don't want to buy votive molds and wick pins, you can make votive candles in many glass votive jars, which hold a little more wax and burn longer but they do have a slightly rounded bottom. The steel molds hold about 1.75-2.25 oz of wax (by weight) depending on how full you fill the mold. The glass votive jars hold about 2.7 - 3 oz each. You'll want to make enough wax to fill your molds and have a little bit left over in case you need to add a little extra onto a candle to smooth it up (called a "double pour"). USE CAUTION- Steel molds have sharp edges!!!
NOTE- These melt and pour instructions are for our Votive Wax. See your specific wax instructions for other wax tempuratures!
If you're reading a printed version of these instructions, you can also go online and click on the images to view close-ups.
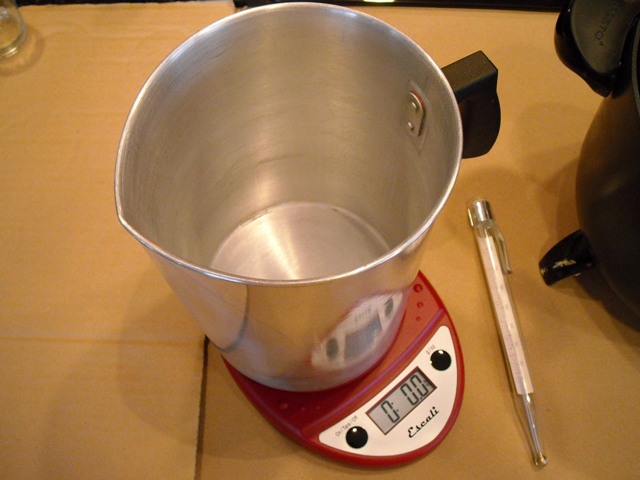
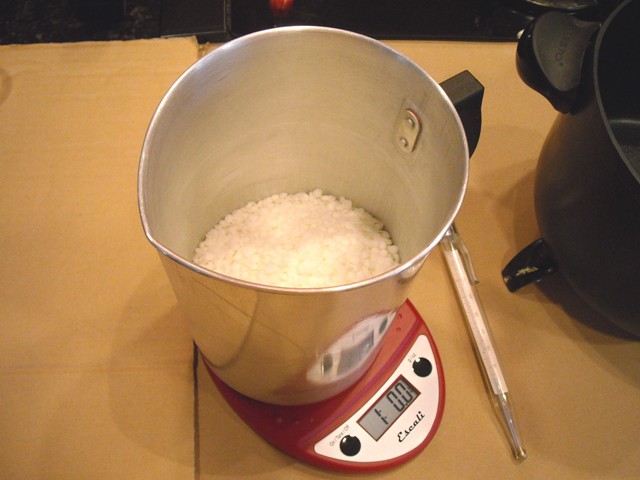
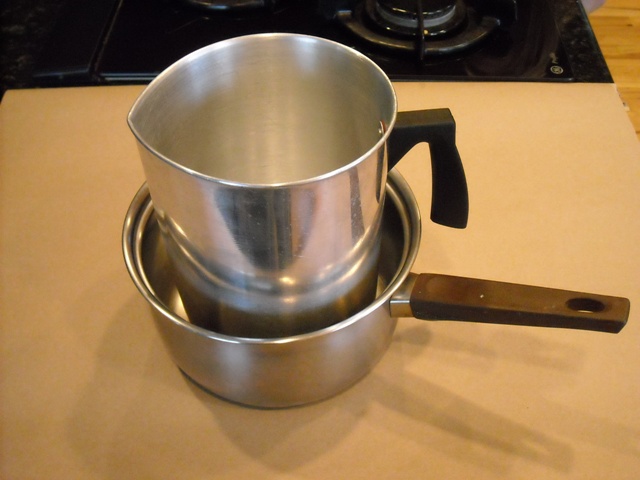
Weigh out the desired amount of Soy Votive wax. Put your pot on the scale and zero out (or TARE) the weight of the pot. I'm using 1 lb to keep it simple. DON'T BOIL YOUR WAX. Heat it in a pour pot placed in a pan of water (double boiler) on the stove, or directly in a Presto Pot (kitchen kettle-made by Presto). This is like a crockpot only it has a thermostat control rather than just low-medium-high. I like melting wax directly in the Presto Pot best. It's quicker, you don't have to worry about drops of water getting in your wax, and you don't have all that steam in the house that a double boiler puts off.
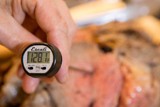
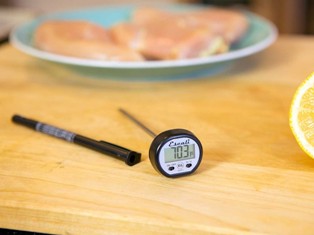
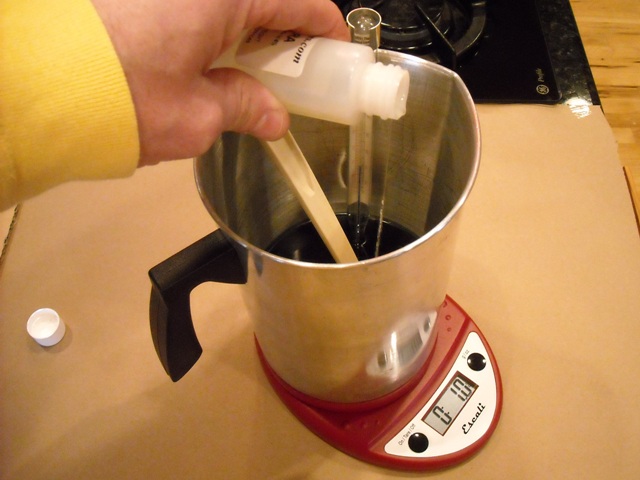
Heat votive wax to 160-180 degrees F (melt point is 133F). Remove from heat. (If you're melting wax directly in the Presto Pot, you'll zero out your Pour Pot and add the desired amount of melted wax into it). Add Candle Dye (if desired) either liquid candle dye or our Flutter Dyes™. Do NOT use food coloring or any dye not made specifically for candles. Mix the color in thoroughly but gently without adding air bubbles. Add fragrance at (or above) 160 degrees F. (generally about 6-12% by weight "Fragrance Load" is suggested for votive wax) 10% = 1 lb wax (16 oz on a scale) and 1.6 ounces of fragrance oil. wax, but it will depend on the fragrance. Please remember--- all candle making ingredients are measured by weight…so please be sure to weigh your fragrance oils. If you are making a 1 lb batch in a pour pot, you can put your pour pot of melted wax on the scale, zero the scale out, then add your fragrance oil.


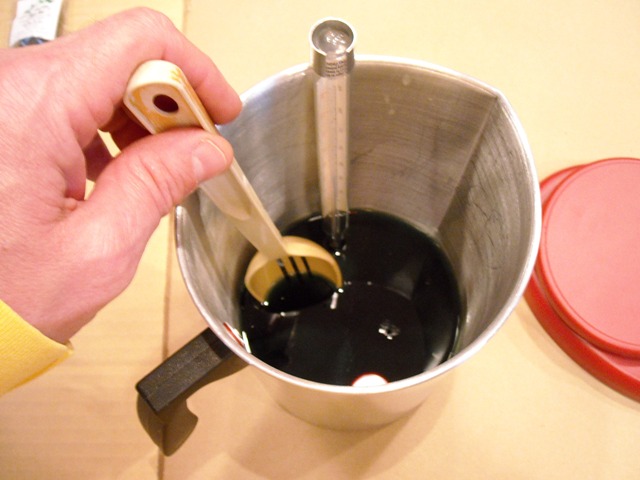
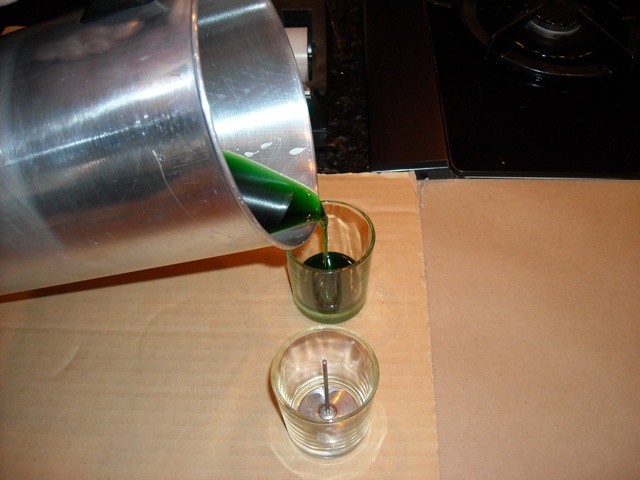
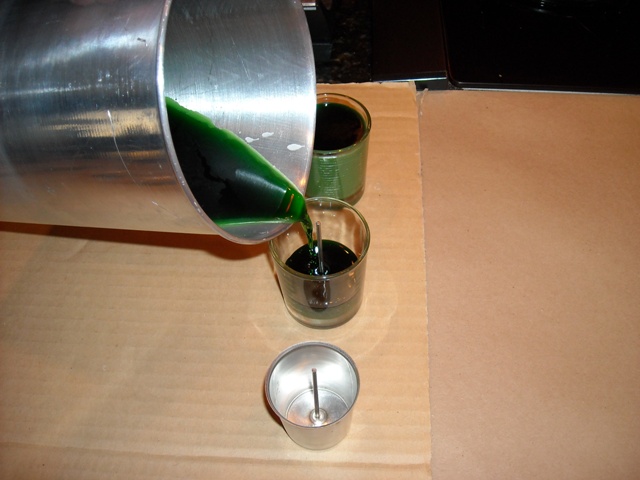
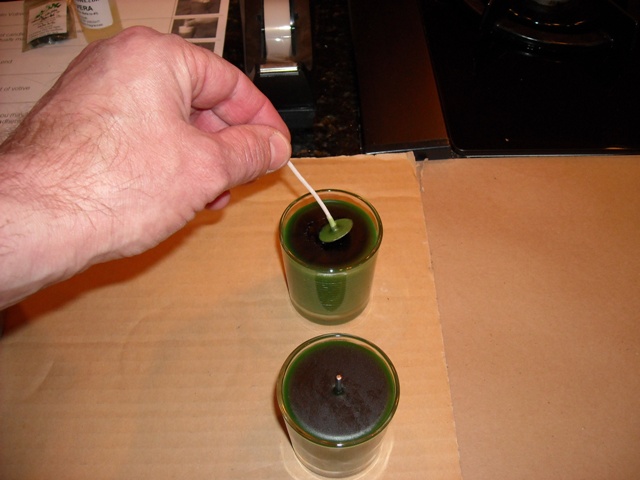
Mix well. Stir slowly to combine, yet not incorporate air. Continue to stir occasionally as it is cooling to keep the fragrance oils and dye suspended in the wax and keep the temperature uniform throughout the batch. Pour into Votive Molds around 160 degrees (about 140 degrees if using our Millennium wax) If you pour all the way to the top of the mold your Votive will have a mushroomed top. Many people pour all their votives this way. I like to pour a little below the top for a straight edged votive. Just as the wax begins to cool and solidify around the very top edge of the mold add your votive wick. Your metal wick tab should stick to the bottom as soon as it touches so aim for the center. If your wick won't stand centered, you can keep it centered with a few pieces of gift wrapping tape in an "X" pattern across the top of the mold. Don't throw out your excess wax… after cooling, you may notice some votives have sunken centers (a little is ok) or rough tops. To improve this, reheat your left over wax a few degrees hotter than your first pour, and pour just enough on top to cover it (usually about 1/8"). That's what is known as a "Double Pour".

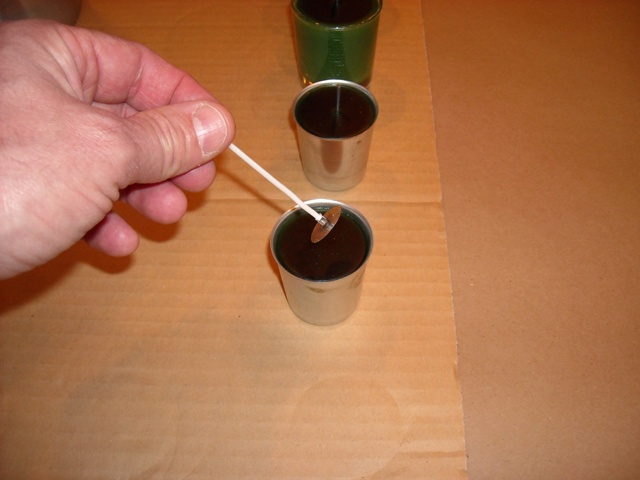
You can also use 2 oz Votive Glass containers as molds to make larger, longer burning votives by pouring directly into the glass (either with or without using wick pins). Just keep in mind you'll need a little more wax for each glass container than the smaller metal molds. If you don't use wick pins you'll need to insert the wick after the top outside edge of the wax starts to solidify. You notice the wax changing color as this happens. The Wick tab will stick to the bottom of the glass the same as it does the steel mold. When cooled and hardened you can pop it out of the mold.
HOW TO USE WICK PINS WITH VOTIVE MOLDS.
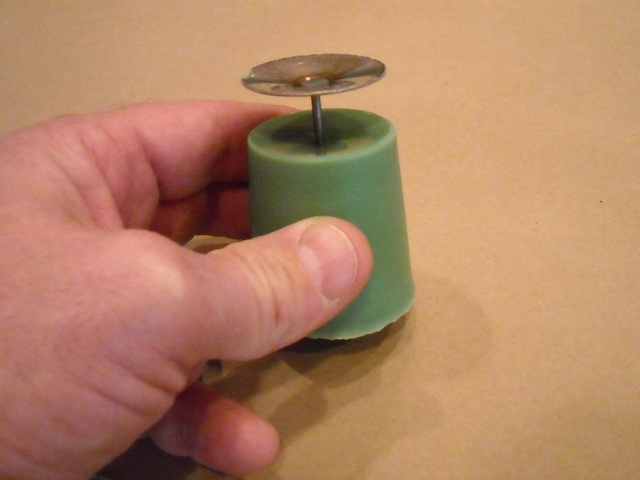
Start with clean, dry molds and wick pins. Our steel wick pins will work well with either our Steel Votive Molds or many 2 oz Votive Glass Containers. Insert the wick pin into the mold and pour between 160-175 degrees (see more details above). Let the wax cool and harden completely, then pull the candle out of the mold by the wick pin. If the wax won't release easily, try wiggling the pin end. If it still won't release, try placing the votive in the freezer for 10 minutes. Use caution with metal molds as the top edge can be sharp!!!
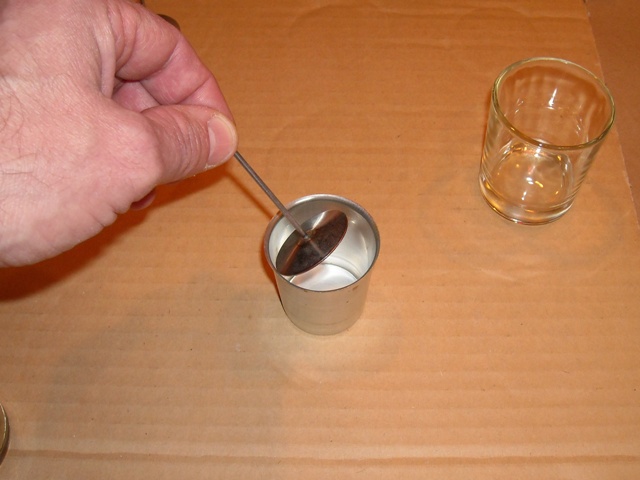

After you've removed the votive from the mold, remove the wick pin and insert your wick from the bottom. Turn it upside down and tap the wick pin loose and push it back until you can grasp the pin base and pull it out the rest of the way.
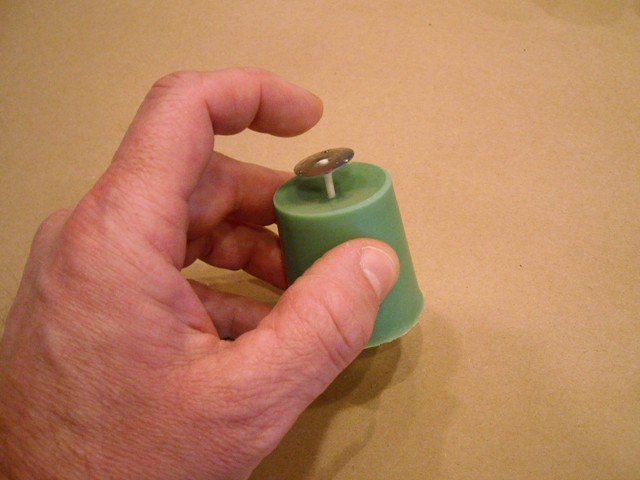
Helpful Hints: If your wick pin is in tight you might chip the bottom of your votive trying to tap it out. Some customers have had success removing a sticky Wick Pin by placing the votive, wick pin down, on a warm pan on the stove, just long enough to heat up the pin base enough where you can push the pin down gently to remove it.
Here's a GREAT idea; If you're making allot of votive candles, make them without a wick or wick pin at all. Get a small table top drill press and make a little jig to hold your votive so the drill hits them all in the center. It's fast, straight and really efficient!
Most wicks will slide right in from the bottom and the little crimp where the wick tab holds the wick is usually enough to hold the wick in place. If not, you can zap it with a heat gun or hair dryer to "glue" it into place. Kinked or weakened wicks, or those with thicker coatings, like the GW-28, may require that you enlarge the hole with a small drill bit.
Place your finished votives in a seal top bag and patiently let set for 4 days prior to burning……yes, you can burn it right away (I know how hard it is with an awesome flavor), but you may not obtain the scent throw that you are looking for if you don't let it cure.

Stearic may be used at 2% to harden wax and help hold color.
CAUTION- Do not keep in liquid form above 180 degrees F for extended periods of time as this will burn the wax (give it a yellow appearance)